Showing posts with label vinyls. Show all posts

Monday, 28 August 2017

Paris manicure

Hi,
I've recently returned from my trip to Paris that you can read more about here on my travel blog and wanted to share with you this Paris inspired manicure. I started with two coats of white nail polish and then applied some nail strips and painted Rimmel - Peachella over them. Using a sponge, I applied some glittery particles on the base of my nails. I stamped the Eiffel tower from Bundle Monster's BM-418 image plate and the heart and butterflies from Konad's m78 image plate. The perfume bottle on my pinkie is a water decal from Born Pretty store. I finished with clear top coat on all nails. What do you think?


Follow me on:

Tuesday, 18 July 2017

Born Pretty Holographic Powder

Hi,
Today I'll show you my new sparkly manicure I created with Born Pretty's holographic powder. I started with one coat of Sephora - Black lace on all nails and then I applied the powder.


You can see that there's a little brush - exactly like an eye make up brush - to use for applying the powder on the nails. It's easy to apply, but the effect is not so breathtaking like the chrome powder I told you about here. The final look is ok in both cases, but I needed more product to achieve this look, compared to the chrome powder which was perfectly opaque after applying just a small quantity of product. 

I created the unicorn using this sheet of nail vinyls. After applying the vinyl, I applied the powder and then removed it and got the little unicorn. Finally, I applied clear top coat on all nails. What do you think of the final look? Have you tried the nail powder yet?

Follow me on:

Tuesday, 16 February 2016

Ultra Violet and Gold Mix & Match

Hi,
Today I'll show you a new mix & match nail art. The nail polished used were Rimmel Lycra Pro - Ultra Violet and Golden Rose - Holiday #82. On my middle finger, I used vinyls to create the chevron design over a white base. On my index finger, I applied a metallic rose from a set of gold metal decorations which I got from Lady Queen shop. I finished with clear top coat on all nails. What do you think?

By the way, don't forget to use my 15% discount code CDCS15 with any order on Ladyqueen.com.


Follow me on:

Tuesday, 29 September 2015

Autumn leaves nail art

Hi,
Today I'll show you an autumn inspired nail art which you can easily create using some feather vinyls. I started with a coat of white nail polish as a base for the red and orange gradient. Using a sponge with Rimmel - Tangerine Taint and Rimmel - Highland I created the gradient and then applied a coat of ILNP - My Private Rainbow for a holographic effect. The feather stencils I used are from TwinkledT. I applied a coat of black nail polish before removing the vinyls and finished with clear top coat. What do you think?


Follow me on:

Friday, 25 September 2015

Blue and yellow manicure

Hi,
Today I'll show you a new manicure inspired by @fixationstation from Instagram. I started with two coats of Rimmel - Adam N Eve it on my index and little fingers and then created the small flowers freehand. On my middle finger, I started with two coats of Avon - Iceberg White and then created the stripes using the vinyls from TwinkledT. On my ring finger, I applied two coats of  Rimmel - Daisy Days and then put an anchor vinyl from Nails Redesigned. I finished with clear top coat on all nails. What do you think?


Follow me on:

Saturday, 19 September 2015

Shiny unicorn nails

Hi,
Today I'll show you a new colourful holographic manicure. I started this nail art with a coat of white nail polish and after it dried, I applied a few drops of Rimmel - Tangerine Taint, Trind - Burst My Bubble and El Corazon - Matte Effect #145 Neon on each nail and created the saran wrap base. Then I applied a coat of ILNP - My Private Rainbow, which is a beautiful holographic top coat. On my accent nail, I created a shiny silver unicorn using a stencil from TwinkledT's Animal Variety Vinyls pack. The rhinestones are from Born Pretty store and you can find them here on their website. I finished with clear top coat to seal in everything. What do you think?

Follow me on:

Tuesday, 15 September 2015

Ice cream nails

Hi,
Today I'll show you my delicious ice cream that nails I easily created using TwinkledT's 
Paint Drip Vinyls. I started with two coats of Rimmel - Let's get nude on my middle and ring fingers and two coats of Rimmel - Neon fest on the rest of the nails. Over the nude base, I painted some brown, diagonal nails so as to create the ice cream cone look. Then I applied clear top coat and after everything had dried, I applied the vinyls and painted a coat of pink. I sealed everything with top coat and that was it. What do you think?

Follow me on:

Thursday, 10 September 2015

Neon Moroccan nails

Hi
Today I'll show you another Moroccan manicure, this time a neon one. I started with El Corazon - Matte nail polish #125 (White) on all nails, let it dry, then applied clear top coat. After it had fully dried, I applied the Almaz stencils from TwinkledT and then created a gradient on each nail. Around my nails I used Cuticle Defender to prevent the mess. I finished with clear top coat. 
What do you think? 

Follow me on:

Friday, 31 July 2015

Mermaid nail art

Hi,
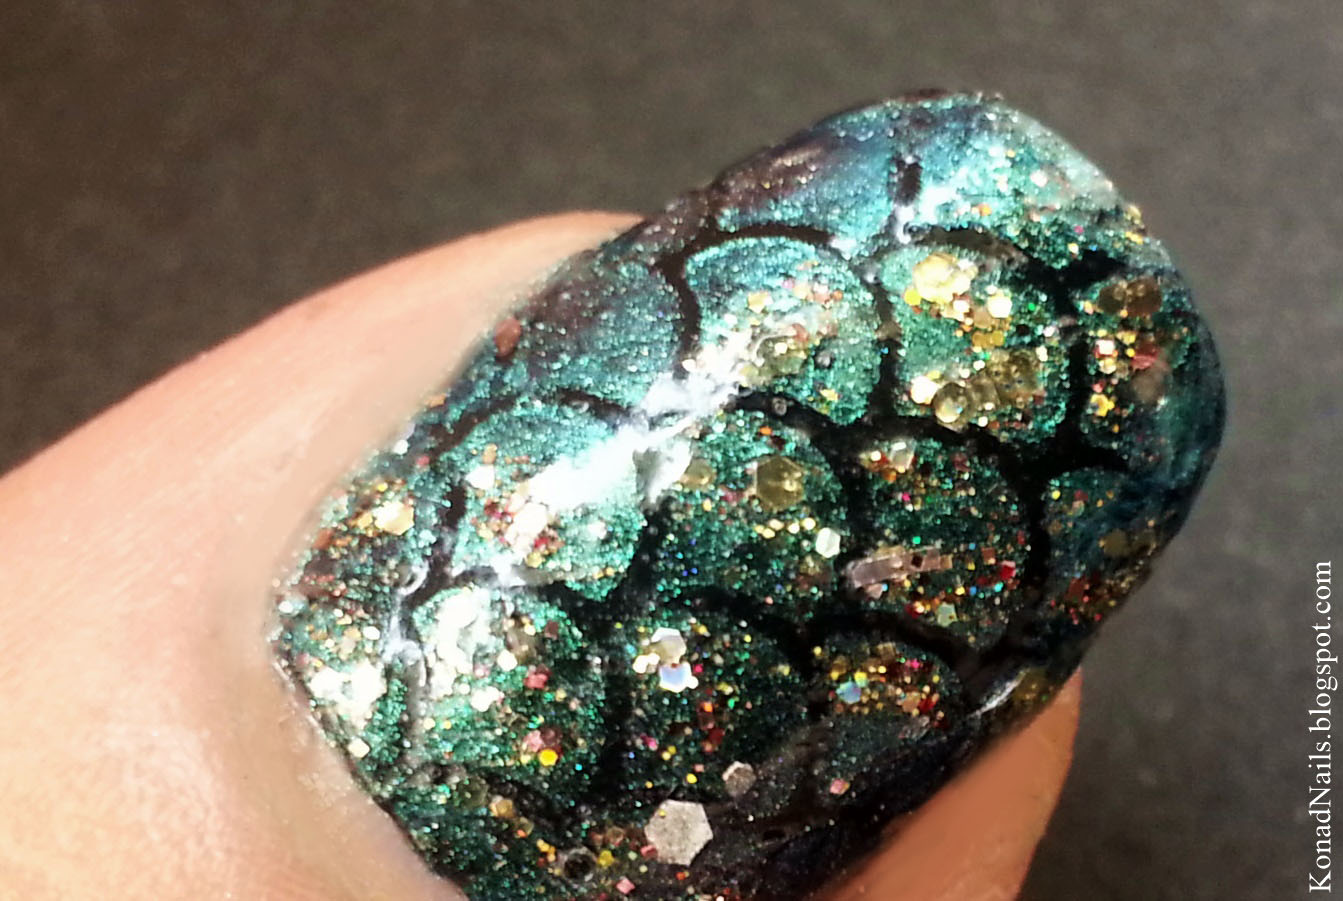
Today I'll show you my fish scale manicure which I easily created using the mermaid stencils from What's up nail art store. I started with a coat of Glitter Gal - Serpent black and then applied a coat of clear nail polish and let it dry. After placing the sencils, I applied Gosh - 540 Ocean and Shimmer Polish - Tracy using a sponge. Then, I removed the stencils and applied clear top coat. On my index and ring fingers, I applied some pearls and shell studs from Born Pretty store. I only fixed them on the nail using clear top coat. What do you think?

By the way, don't forget to use my 10% discount code MKAK31 with any order on Born Pretty store.

Also, click here if you'd like to see my mermaid nails from last year.


Follow me on:


Monday, 27 July 2015

Moroccan nail art

Hi,
Today I'll show you my Moroccan manicure which I easily created using What's Up Nails stencils. I started with two coats of Rimmel - Tangerine Tent on all nails and then applied clear top coat. After letting it dry, I stuck a stencil on each nail and then applied No7 - Totally Teal and Golden Rose - Holiday #58 using a sponge, so as to create a beautiful gradient. After that, I unstuck the stencils and applied clear top coat. You can find the Moroccan stencils here on their website. On my ring finger, I applied a green rhinestone and then applied some small golden studs around it. What do you think?

Follow me on:

Monday, 6 July 2015

Neon polka-dots

Hi,
Today I'll show you another dotticure, a neon one this time. I started by placing two angle vinyls on each nail so as to form an X, and then I applied polish. The nail polishes used were, from left to right, Rimmel - Neon Fest, China Glaze - Sun of a peach, Claire's - Beach and China Glaze - Too Yacht to Handle. Then, using a dotting tool, I created the black and white dots. I finished with clear top coat. What do you think?

Follow me on:

Wednesday, 24 June 2015

Birthday nails

Hi,
Yesterday was my birthday so I created a festive and colourful manicure. I decided to mix chevrons, stripes, polka dots and a 3D ribbon and below you can see the result. The nail polishes used for this manicure were Rimmel - Sky High, Rimmel - Central Love Heart, Avon - Iceberg White and Shimmer Polish - Tracy. 

The 3D bow on my ring finger is from Born Pretty's 12 colours bowknot box . I only used top coat to stick it on the nail and it resisted very well.

What do you think?

Don't forget to use my 10% off coupon code MKAK31 with any order on Born Pretty store.


Follow me on:

Sunday, 12 April 2015

Easter nails

Hi,
Today I'll show you the nail art I'm going to wear this Easter. Just like last year, I chose a pastel neon gradient and created a simple manicure using some stripe and chevron vinyls from  Nails Redesigned. I used Avon - Iceberg white as a base and then created the gradient on a sponge with three nail polish colours (China Glaze - Too Yacht To Handle, Claire's - Beach and China Glaze - Sun Of A Peach). What do you think?

Happy Easter for all those who are celebrating!


Don't forget to also check out this amazing bloggers that took part in the TPA Easter Nail Art Challenge, too!

Follow me on:

Thursday, 19 February 2015

Negative space nails

Hi,
Today I'll show you my white negative space manicure. I started with two coats of Rimmel - 513 Let's Get Nude on all nails and then I applied some stripe and angle vinyls which I got from Nails Redesigned. After that, I painted a coat of Avon - Iceberg White and removed the vinyls. I finished with clear top coat. On my middle finger, I applied three round golden studs from Born Pretty store. What do you think?

Follow me on:

Tuesday, 17 February 2015

Stripes & Flowers

Hi,
Today I'll show you my new spring nail art which I created using only vinyls and water decals. I started with base coat and then I applied some stripe vinyls from Nails Redesigned on each nail. Next, I painted the nails black and then unstuck the vinyls. After that, I applied clear top coat and let it dry. Finally, I put on some flower decals from Born Pretty store and finished with another coat of clear nail polish. What do you think?

Follow me on:

Tuesday, 27 January 2015

Glittery nude

Hi,
Today I'll show you a very easy to do reverse moon manicure. I started with two coats of  Rimmel - Let's get nude and then applied clear top coat. Then I applied angle vinyls from Nails Redesigned and Shimmer Polish - Tracy using a sponge to maximize the glitter's effect. Finally, I removed the vinyls and applied another coat of clear nail polish. What do you think?


Follow me on:

Sunday, 30 November 2014

Pink maniswap with @amina2inspire

Hi,
Today I'll show you a lovely, pink nail art I created for a maniswap on Instagram with @amina2inspire. It wasn't difficult to create and the result was eye-catchy. I only used three nail polishes: Trind - Burst My Bubble (CC202), ProNails -Extreme white and a regular black nail polish. The striping vinyls I used are from Nails Redesigned. The heart stud on my accent nail is from Born Pretty store. I topped everything with a mattifying top coat. What do you think?


Follow me on:

Free counters!