Showing posts with label studs. Show all posts

Monday, 24 December 2018

Christmas nail art

Hi,
Merry Christmas Eve everyone! I wanted to quickly show you the manicure I'm going to wear for the holidays. I decided to go for green nails this year and for this I applied two coats of Avon - Noir Emerald. Then I took out all my collection of studs and rhinestones and combined them all so as to create some Christmas ornaments. I sealed them in using Seche Vite top coat. What do you think? What are you wearing on your nails this Christmas?


Follow me on:


Monday, 6 March 2017

Studded french manicure


Hi,
Today I'll show you my new spring french manicure. I started with two coats of Golden Rose - Color Expert 101 and then created the white tips with Madam Glam - Snow white. I applied some coloured studs from Born Pretty store on my ring and index fingers and finished with clear top coat on all nails for a beautiful shine but also for sealing in the studs. What do you think? 


Follow me on:

Monday, 1 August 2016

French manicure

Hi,
Today I'll show you something simple and elegant: a french manicure! I'm usually more into coloured nails or simply just something more than just the white tips, so I couldn't help but transforming the ring finger's nail into an accent nail. The white nail polish I used is Madam Glam - Snow white, a nail polish totally opaque after a single coat. On the accent nail, I stamped the design from Lady Queen's BC-09 stamping plate and then added some golden studs which I got from Born Pretty store. I finished with a layer of clear top coat on all nails.
What do you think?

Follow me on:

Thursday, 28 July 2016

Neon summer nails

Hi,
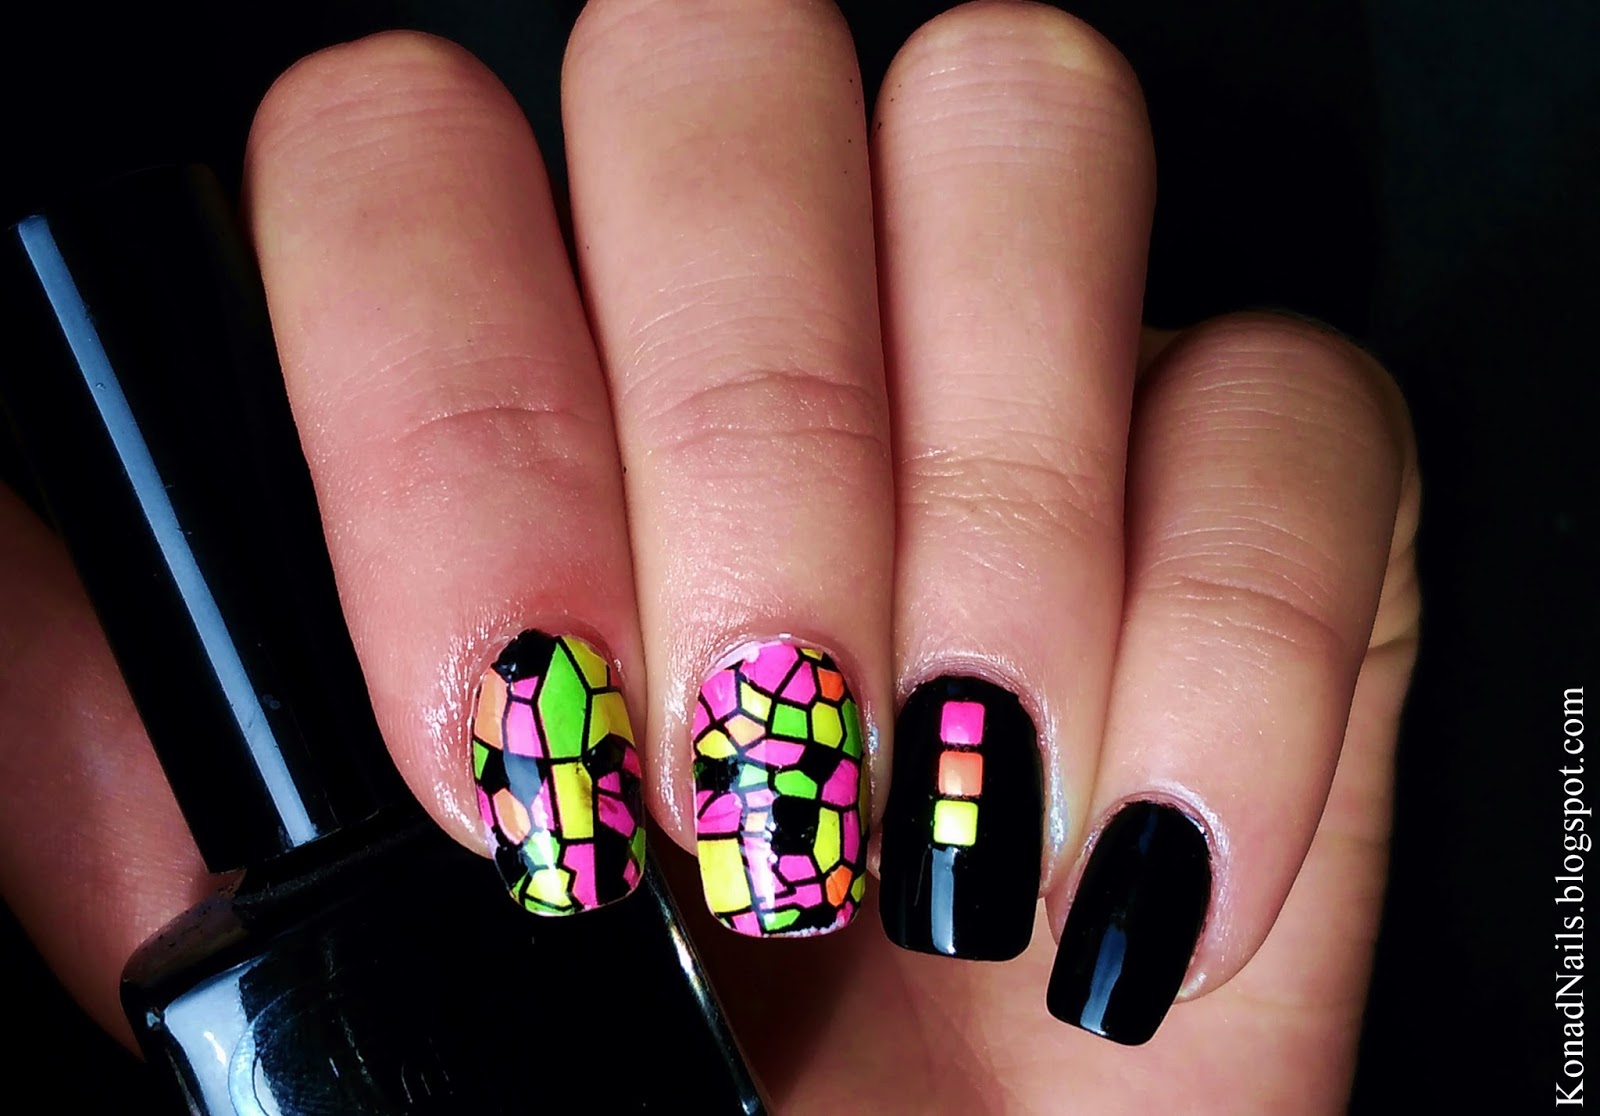
Today I'll show you an electrifying neon manicure which is just perfect for summer. Also, very easy to do! On my thumbs, index and middle fingers, I started with a coat of white nail polish and then applied these gorgeous water decals from Born Pretty store. On the rest of my nails, I applied two coats of black nail polish. On the accent nail, I put some fluorescent square studs to match the decals. I finished with clear top coat on all nails. What do you think?


Follow me on:

Monday, 20 June 2016

White nails

Hi,
Today I'll show you a recent manicure that some of you might have already seen on my Instagram. I want to apologize for my absence but please know that I'm trying to get back to posting as much as before. So thank you everyone who stuck around, I already have a few posts prepared for you! For the manicure below, I started with two coats of Madam Glam - Snow white, which I mentioned before as the most beautiful, opaque and easy to apply white polish I have ever used. Then I stamped the floral design from BC-09 stamping plate, which I recently bought from Lady Queen beauty store. On my accent nail, I applied one gold and one silver square studs. I finished with clear top coat. What do you think?

>> Don't forget to use my 15% discount code CDCS15 with any order on Ladyqueen.com. <<


Follow me on:

Sunday, 3 January 2016

Burgundy - nude dotticure

Hi,
Today I'll show you a fast & easy dotticure accessorized with some nail studs. The nail polishes I used as base colours were Rimmel - Highland and Rimmel - Let's get nude. Using a dotting tool, I created a few black dots over the nude base. The golden studs I applied on my middle and ring fingers are from Born Pretty store and you can find them here on their website. I finished with clear top coat on all nails. What do you think?
 

Follow me on:


Sunday, 16 August 2015

Sandy nail art

Hi,
Here's another one of my seaside nail arts and this time I'll show you a sandy, shell-decorated one. This was a really fast and easy mani to do on vacation, where I didn't have much time and resources to allocate for my nails. The blue, textured nail polish I used was Golden Rose -Galaxy 12. I applied it on all my nails, except from my ring finger, where I chose a gold nail polish base. The shells and round studs I used for decorating my manicure were from Born Pretty store. 
What do you think?

Follow me on:

Friday, 31 July 2015

Mermaid nail art

Hi,
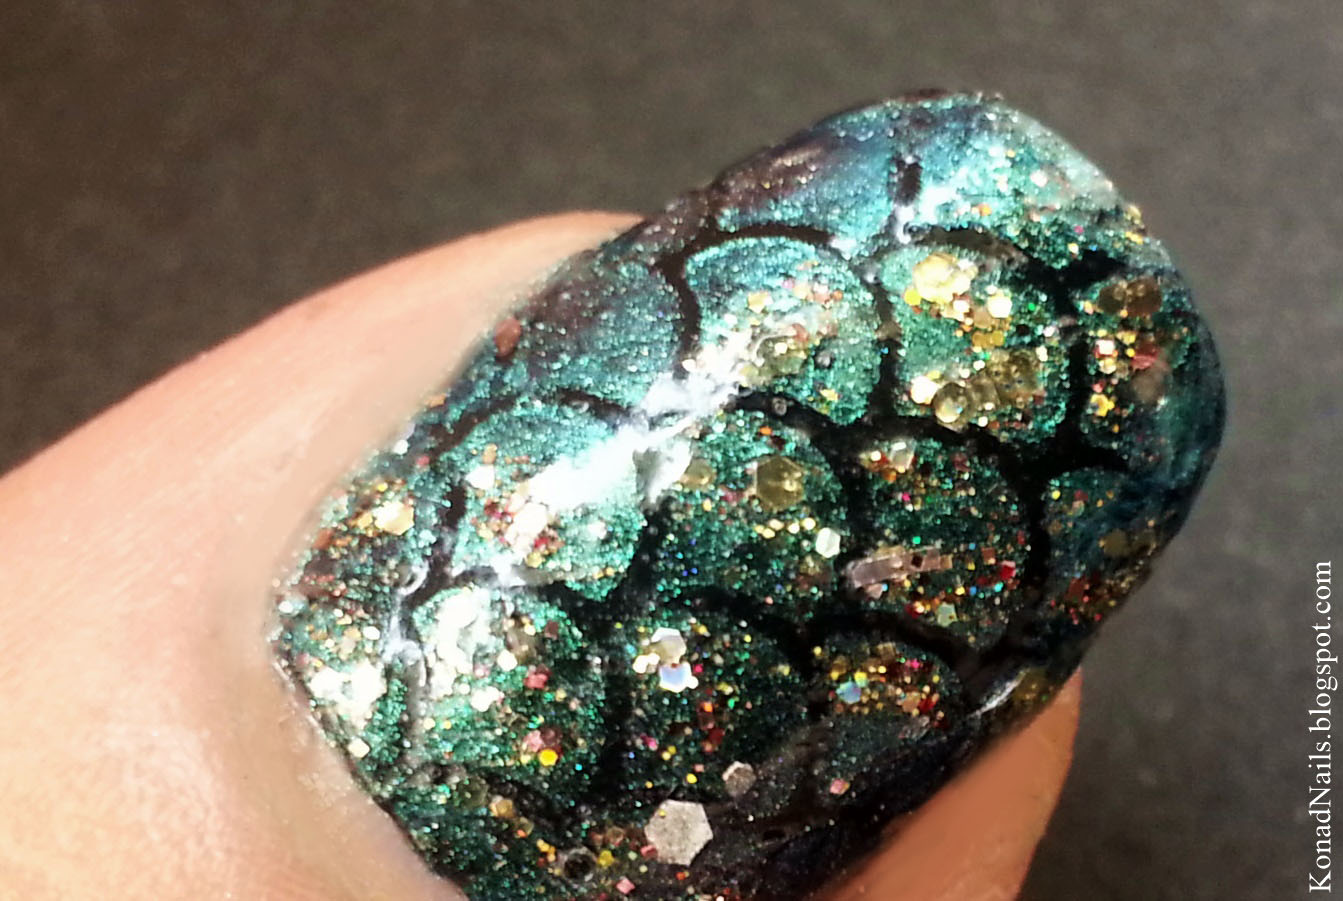
Today I'll show you my fish scale manicure which I easily created using the mermaid stencils from What's up nail art store. I started with a coat of Glitter Gal - Serpent black and then applied a coat of clear nail polish and let it dry. After placing the sencils, I applied Gosh - 540 Ocean and Shimmer Polish - Tracy using a sponge. Then, I removed the stencils and applied clear top coat. On my index and ring fingers, I applied some pearls and shell studs from Born Pretty store. I only fixed them on the nail using clear top coat. What do you think?

By the way, don't forget to use my 10% discount code MKAK31 with any order on Born Pretty store.

Also, click here if you'd like to see my mermaid nails from last year.


Follow me on:


Monday, 27 July 2015

Moroccan nail art

Hi,
Today I'll show you my Moroccan manicure which I easily created using What's Up Nails stencils. I started with two coats of Rimmel - Tangerine Tent on all nails and then applied clear top coat. After letting it dry, I stuck a stencil on each nail and then applied No7 - Totally Teal and Golden Rose - Holiday #58 using a sponge, so as to create a beautiful gradient. After that, I unstuck the stencils and applied clear top coat. You can find the Moroccan stencils here on their website. On my ring finger, I applied a green rhinestone and then applied some small golden studs around it. What do you think?

Follow me on:

Sunday, 10 May 2015

Fan brush striped nail art

Hi,
Today I'll show you my new striped nail art created with a fan brush. If you're wondering what the technique was, please watch this tutorial. The brush used was from Born Pretty's set of 15 brushes which you can currently find on sale on their website. I started with a coat of white nail polish as a base fot my manicure. The nail polishes used for the design were Avon - Inspire,  China Glaze - Too Yacht to Handle and Rimmel - Out of the blue. I applied some golden studs on  the accent nail and finished with Oriflame - Matte Top Coat. What do you think?

Follow me on:

Sunday, 1 March 2015

1st of March nails

Hi,
First of all, let me say that I wish you all a happy spring, full of happiness and love! Here in Romania, we wear trinkets with red and white yarns in the honour of the 1st of March. It's our way to celebrate spring's arrival, therefore today's manicure will be a themed one. 
Considering the occasion, I decided to go for a saran wrap nail art, as it was the best way to beautifully mix red and withe together. I started with a coat of Avon - Iceberg white on all nails. On my middle and ring fingers, I firstly applied some scotch tape on the edges and then did the saran wrap. The technique is simple: you just pour randomly some drops of white and red polish and them, using transparent wrap, you mix everything until you achieve the wanted effect. The red polish I used is Rimmel - 318 Stand to attention. I finished with clear top coat on all nails and applied some square silver studs from Born Pretty store on the accent nails. 
What do you think?

Follow me on:

Thursday, 19 February 2015

Negative space nails

Hi,
Today I'll show you my white negative space manicure. I started with two coats of Rimmel - 513 Let's Get Nude on all nails and then I applied some stripe and angle vinyls which I got from Nails Redesigned. After that, I painted a coat of Avon - Iceberg White and removed the vinyls. I finished with clear top coat. On my middle finger, I applied three round golden studs from Born Pretty store. What do you think?

Follow me on:

Friday, 26 December 2014

Santa Claus' costume nail art

Hi,
Today I'll show you the manicure I wore on Christmas Eve. I decided to create Santa Claus' costume on my nails, which was really easy and suitable for this holiday. I created Santa's cap on all nails except from my ring finger, where I created his costume. The golden stud I used for the belt is from Born Pretty store. As usual, I finished the manicure with clear top coat. What do you think?

Merry Christmas!


Follow me on:

Friday, 12 December 2014

Christmas saran wrap nails

Hi,
Today I'll show you a new saran wrap nail art in the colours of Christmas. I started with a coat of ProNails - Extreme white on all nails and then I randomly applied drops of white, red (Rimmel - 506 Central Love Heart) and green (No7 - Totally Teal) nail polish. Then I mixed them using some wrapping foil. Please watch this tutorial for the technique. Finally, I applied clear top coat and a gold stud on my accent nail. What do you think?


Follow me on:

Sunday, 30 November 2014

Pink maniswap with @amina2inspire

Hi,
Today I'll show you a lovely, pink nail art I created for a maniswap on Instagram with @amina2inspire. It wasn't difficult to create and the result was eye-catchy. I only used three nail polishes: Trind - Burst My Bubble (CC202), ProNails -Extreme white and a regular black nail polish. The striping vinyls I used are from Nails Redesigned. The heart stud on my accent nail is from Born Pretty store. I topped everything with a mattifying top coat. What do you think?


Follow me on:

Monday, 20 October 2014

October: Breast Cancer Awareness month

Hi,
As you probably know, October is known as the Breast Cancer Awareness month, which means that this month we wear pink. Today I'll show you a themed nail art which I created a week ago, but didn't have time to post. Those who follow my instagram account might have seen it already and those who don't, I encourage you to do it, as I post more often there. 
I started with two coats of Nicole by OPI - Up & Kim-ing Pink and then I created a sort of mix and match. On my index and pinky fingers, I simply applied a darker pink stud. On my middle finger, I stamped the ribbon design from Bundle Monster's BM-321 stamping plate. On my ring finger, I applied two coats of Sinful Colors - Pinky glitter. Finally, I applied clear top coat on all nails. What do you think?

Follow me on:

Friday, 3 October 2014

Easy-to-do manicures

Hi,
Sorry for being MIA - busy week. Today I'll show you two of my last manicures. They're both really easy and fast to do and also eye-catchy.
For the first one, I started with two coats of  Astor - 237 Orange Cosmos on all nails except from my accent nail, where I applied ProNails - Extreme white. Then, using a dotting tool, I made some dots using the other colour. You can also use bobby pins or needles for this step. Finally, I applied a golden heart stud from Born Pretty store and sealed everything with top coat. 

For the second nail art, I used a different nail polish on each nail.
 I applied two coats of Rimmel -312 Ultra Violet and clear top coat on my pinkie. On my ring finger, I applied two coats of Layla -Metal Chrome and then applied Farmasi Shimmer Nail Enamel #201 as a glitter top coat. On my middle finger, I started with two coats of ProNails - Extreme white and then I stuck some chevron vinyls I got from Nails Redesigned. Using a sponge, I applied pink and purple polish and then unstuck the vinyls. I finished with clear top coat. Finally, I applied Farmec #364 on my index finger and then sealed it with clear top coat. 

Which of the two manis is your favourite?

Follow me on:

Sunday, 21 September 2014

Black and white saran wrap manicure & Tidestore wishlist

Hi,
Today I'll show you my new saran wrap manicure - this time I tried a black & white one. I started with a coat of white nail polish and then I created the saran wrap using ProNails - Extreme white, Sweet Color gray and Glitter Gal - Serpent black. I added some pink and green studs which I got from Born Pretty store. I finished with clear top coat. What do you think?


I'd also like to show you my wishlist for this fall. All the items are from Tidestore, where you can find gorgeous plus size dresses (www.tidestore.com/Plus-Size-Sweater-Dresses). Don't forget to also check their free shipping (www.tidestore.com/Korean-Clothing-Free-Shipping) category!

Follow me on:

Free counters!