Showing posts with label Golden Rose. Show all posts

Monday, 6 March 2017

Studded french manicure


Hi,
Today I'll show you my new spring french manicure. I started with two coats of Golden Rose - Color Expert 101 and then created the white tips with Madam Glam - Snow white. I applied some coloured studs from Born Pretty store on my ring and index fingers and finished with clear top coat on all nails for a beautiful shine but also for sealing in the studs. What do you think? 


Follow me on:

Tuesday, 16 February 2016

Ultra Violet and Gold Mix & Match

Hi,
Today I'll show you a new mix & match nail art. The nail polished used were Rimmel Lycra Pro - Ultra Violet and Golden Rose - Holiday #82. On my middle finger, I used vinyls to create the chevron design over a white base. On my index finger, I applied a metallic rose from a set of gold metal decorations which I got from Lady Queen shop. I finished with clear top coat on all nails. What do you think?

By the way, don't forget to use my 15% discount code CDCS15 with any order on Ladyqueen.com.


Follow me on:

Tuesday, 18 August 2015

Unicorn nails

Hi,
Today I'll show you my super fantastic nail art which I simply fell in love with! Yes, they're my unicorn nails which you might have already seen on my instagram page. Actually these were inspired by Miss Happy and Her Nails, who created something similar last week.
I started with two coats of Rimmel - Too Cool To Tango on all nails and let it dry. On my index finger, I stamped some white clouds from MoYou Nails' 127 stamping plate. On my middle finger, I created a home made unicorn decal using Born Pretty's QA29 stamping plate. On my ring and small fingers, I painted a cute rainbow freehand. I finished with Golden Rose Matte top coat on all nails. What do you think?

Follow me on:

Sunday, 16 August 2015

Sandy nail art

Hi,
Here's another one of my seaside nail arts and this time I'll show you a sandy, shell-decorated one. This was a really fast and easy mani to do on vacation, where I didn't have much time and resources to allocate for my nails. The blue, textured nail polish I used was Golden Rose -Galaxy 12. I applied it on all my nails, except from my ring finger, where I chose a gold nail polish base. The shells and round studs I used for decorating my manicure were from Born Pretty store. 
What do you think?

Follow me on:

Monday, 27 July 2015

Moroccan nail art

Hi,
Today I'll show you my Moroccan manicure which I easily created using What's Up Nails stencils. I started with two coats of Rimmel - Tangerine Tent on all nails and then applied clear top coat. After letting it dry, I stuck a stencil on each nail and then applied No7 - Totally Teal and Golden Rose - Holiday #58 using a sponge, so as to create a beautiful gradient. After that, I unstuck the stencils and applied clear top coat. You can find the Moroccan stencils here on their website. On my ring finger, I applied a green rhinestone and then applied some small golden studs around it. What do you think?

Follow me on:

Friday, 24 July 2015

Kiwi nails

Hi,
Today I'll show you another easy to do freehand nail art. I started with two coats of Golden Rose #18 as a base colour for my manicure and then created a white dot in the middle of each nail. After that, using a thin brush I created some white radial lines and then added the small black dots to represent the seeds. Finally, I sealed in everything using clear top coat. 

I'd also like to show you a manicure created on a friend's nails. I stamped the palm tree design from MoYou London's 12 plate. What do you think?

Follow me on:


Sunday, 7 September 2014

Last summer days

Hi,
Unbelievably, summer's already over and only now did I manage to do a watermelon nail art. I started with two coats of ProNails - Extreme white and then I created the gradient using Golden Rose - Rich Color 08 and Golden Rose - Rich Color 18. Then I painted the kernels using a thin brush and black nail polish. I did this on all nails, except from my ring finger where I applied  Golden Rose - Rich Color 18 and then stamped the peel design from MoYou London's
Tropical 08 image plate. I finished with clear top coat on all nails. 

Sunday, 24 August 2014

Sea foam nail art

Hi,
Today I'll show you my new sea foam manicure. I firstly created the saran wrap base using ProNails - Extreme White, Rimmel - Out of the blue and Rimmel - Sky high. Then I applied clear top coat.

Next, I applied the a gold nail polish (Golden Rose Holiday #82) to create the sand effect. I also applied some gold shells I got from Born Pretty store. I finally applied clear top coat and that's it. What do you think?

Follow me on:

Friday, 18 July 2014

Feather nail art

Hi,
Today I'll show you a manicure that is very easy to do. Without any other introduction, let me tell you how I did it. I firstly created a black and white gradient using Flormar -M01 (white) and Flormar -399 (black). Then, I applied a coat of Golden Rose -Impression #12 on each nail. 
On my thumb and ring finger, I only applied two coats of white nail polish and then stuck some feather water decals. You can find them on Born Pretty store. I finished with clear top coat. 
What do you think?

Don't forget to use ASJ61 code for a 10% discount at Born Pretty store. 


Follow me on:

Sunday, 13 July 2014

Homemade decals | Floral anchor nail art

Hi,
Today I'll show you my new floral anchor nail art. 
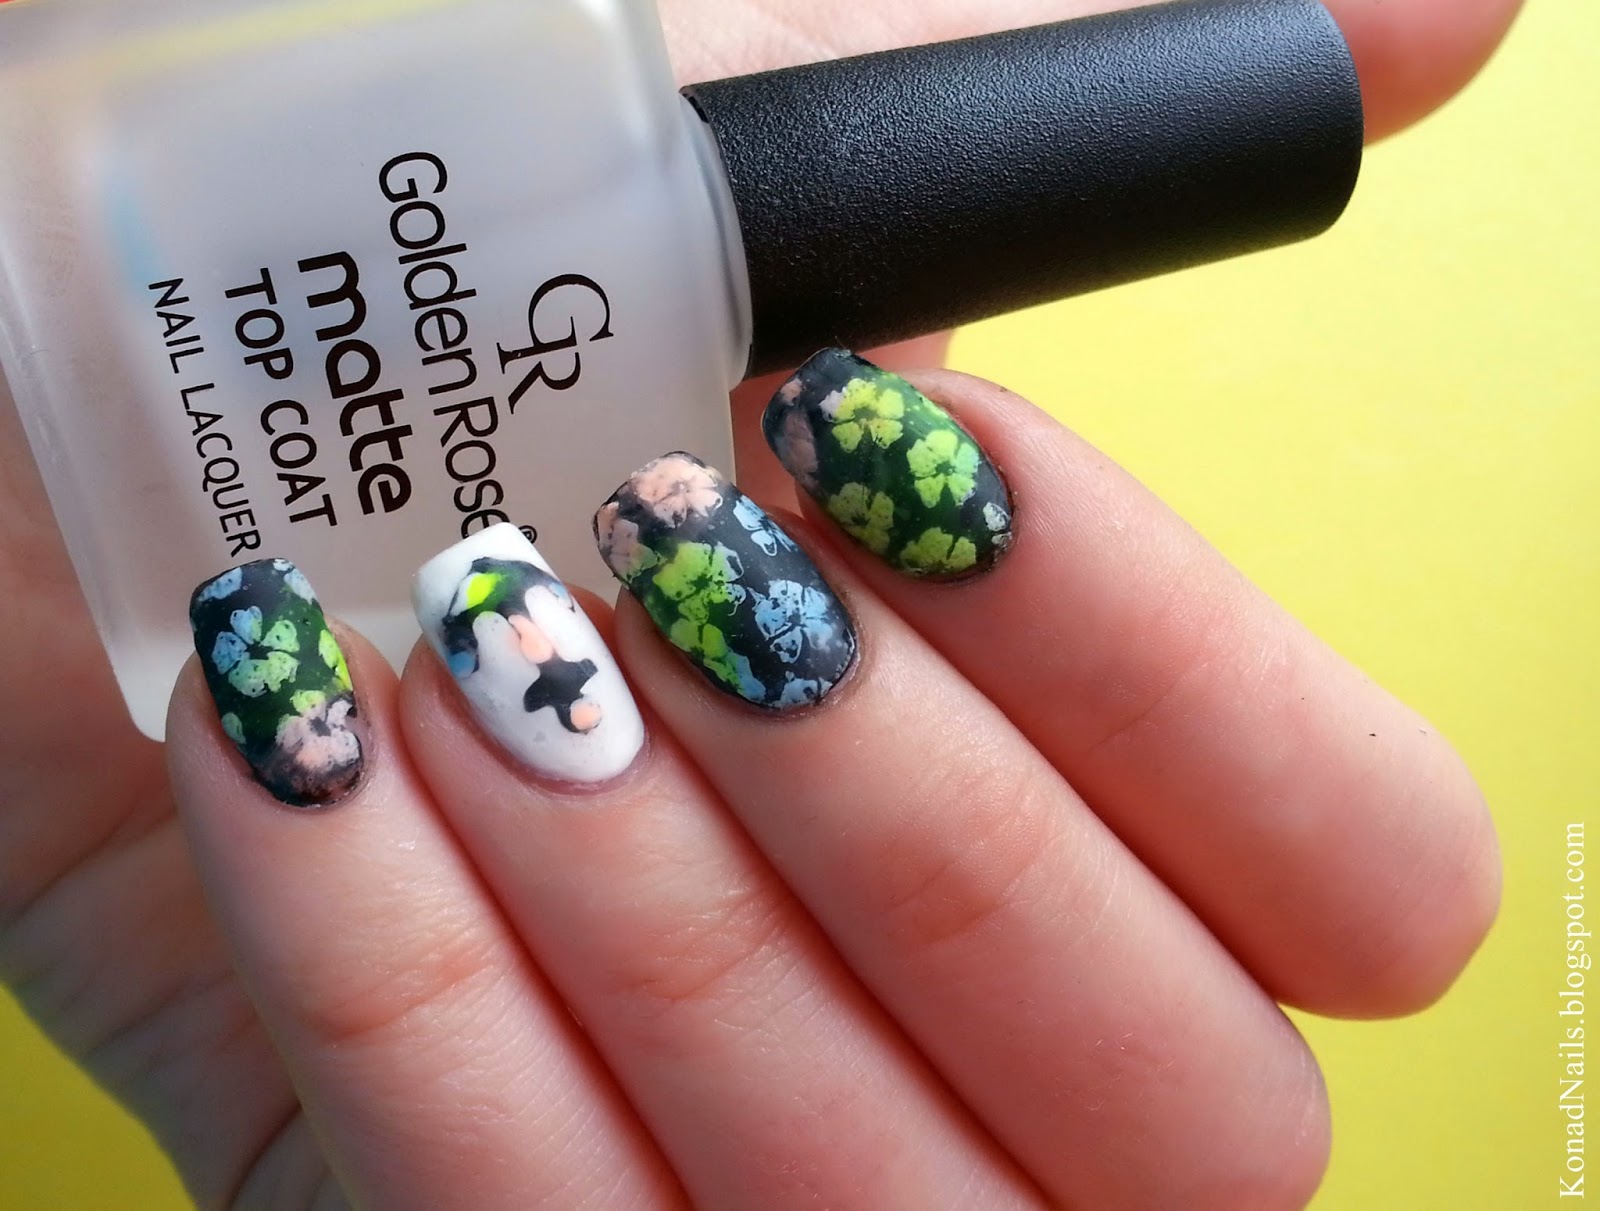
I started with two coats of Glitter Gal -Serpent Black on all nail except from my ring finger, where I applies ProNails -Extreme White. Then I appplied some homemade water decals and finished with Golden Rose -Matte top coat. Find below my easy tutorials on creating homemade decals.

Anchor decal (you can also watch the pictorial I posted on Instagram here)
→ Take a plastic wrap or plastic bag and put it on a hard surface. 
→Stick the anchor stencil (or any stencil) on it. My anchor stencils are from Nails Redesigned.
→Apply a coat of black nail polish so as to cover the hole. 
→Remove the stencil while the nail polish is still wet and then let it dry. 
→Apply clear top coat and let it dry. This will help you unstick the decal from the plastic wrap. 
**The next step is optional. 
If you don't want to create any more designs on your decal you're done. 
→Take your white nail polish and a thin nail art brush and create the wanted design. 
Colour it using sheer tints. 
→Unstick the decal using tweezers and apply it onto the nail. Seal with clear top coat.

I used the same technique for creating the full nail flowery decals. I stamped the design from MoYou London's Tourist 17 stamping plate.

Follow me on:

Thursday, 5 June 2014

Flowery nail art

Hi,
The weather finally looks like summer and that gave me a very favorable mood. 
Here's my new flowery nail art. I started with two coats of Flormar -M01 and then I stamped the writing from MoYou London's 02 plate from the Scholar collection. Then, using a thin brush, pink and green nail polishes, I created the roses. I finished with clear top coat.

Nu uitati ca puteti achizitiona ojele Golden Rose si online, de pe Cosmania.ro. Urmariti pagina de facebook Golden Rose Romania pentru a fi la curent cu toate noutatile.


Monday, 2 June 2014

Umbrellas & raindrops nail art

Hi,
Today I'll show you my new umbrellas & raindrops manicure, inspired by @kbkopija. I started with two coats of  Sweet Color gray nail polish and then, using blue, red, yellow and green polishes, some nail art brushes and black nail polish, I created the little umbrellas. The next step was to apply the Golden Rose -Matte Top coat. Finally, I created the raindrops using a dotting tool and clear top coat to achieve the wet effect. What do you think?

Nu uitati ca puteti achizitiona ojele Golden Rose si online, de pe Cosmania.ro. Urmariti pagina de facebook Golden Rose Romania pentru a fi la curent cu toate noutatile.

Sunday, 25 May 2014

Summertime OOTD + NOTD

Hi,
Today I'd like to show you my new manicure. For this one, I started with two coats of white on all nails and then I created a gradient using Golden Rose -Rich Color #08 and China Glaze -Sun of a Peach. On the two accent nails, I firstly stuck some chevron vinyls and then applied the gradient. Then, I unstuck them while the polish was still wet and applied clear top coat.

Sunday, 11 May 2014

Pin-up nail art

Hi,
Today I'll show you my first pin-up manicure. I have to say that Gia Makeup Blog was my main source of inspiration. After seeing her beautiful cherry nails and her posts about pin-up, 
I knew I had to do them!
I started with a coat of Oriflame -Night fever and after it dried completely, I applied some round french stickers like these here and applied two coats of Illamasqua -Alarm. I removed the stickers before the nail polish dried. Then I created some dots and lines using white nail polish and the brushes and dotting tools set from Born Pretty store. 
On my accent nail, I started with two coats of white (Flormar -M01) and then I stamped the cherry design from Cheeky Beauty's GA16 stamping plate. I finished with Golden Rose -Matte Top coat on all nails, but didn't apply it over the black part.
What do you think?


I attached the two pictures below so you can better see that the reverse french is shiny, while the rest of the design is matte. To achieve this effect, I used Golden Rose -Matte Top coat.


Nu uitati ca puteti achizitiona ojele Golden Rose si online, de pe Cosmania.ro. Urmariti pagina de facebook Golden Rose Romania pentru a fi la curent cu toate noutatile.

Wednesday, 23 April 2014

Tiffany box nail art

Hi,
Today I'll show you my new manicure I created with my untried - for really long time -  Love, Charlotte nail polish. I applied two coats of it on each nail and then stuck the white bow decoration from Kkcenterhk on my accent nail. I created the white stripes using Golden Rose Nail Art 101 to make my nails look like a gift box. I finished with clear top coat. What do you think?

Nu uitati ca puteti achizitiona ojele Golden Rose si online, de pe Cosmania.ro. Urmariti pagina de facebook Golden Rose Romania pentru a fi la curent cu toate noutatile.


PS: Did you see this week's activity at Lovelywholesale?
They've launched their Instagram page and do activity there.
This week's activity is “Follow to win $50”. It will last 5 days from 22nd to 26th Apr. They will choose 10 winners and each one gets $50 (2 winners published every day) . Click here!

*** Later edit: I just felt I need to change this post's title to Tiffany box nail art. You were right in the comments! ***

Tuesday, 15 April 2014

Bundle Monster nail art cabochons + GIVEAWAY

Hi,
Today I'll show you how I improved my last manicure with some 3D nail decorations from Bundle Monster. As you know, I started with two coats of Golden Rose -Galaxy 12 on all nails. On my ring finger, I applied a coat of gray nail polish and then a generous ammount of clear top coat to stick my cabochon. And that was it! 


Now if you'd like to win some nail art cabochons, keep reading!


This was a set containing 5 pieces of 3D decorations. I will give the rest of the set away to one lucky winner.

Are you afraid you won't be able to use them properly? 
There's no need to be. I, for one, was amazed at how easy it was to apply. You don't need any nail glue or other harmful substances - some clear top coat will do it.

When to wear them?
These cabochons are the perfect alternative when you need a quick, yet eye-catchy and elegant manicure. 

If you'd like to participate, fill in the Rafflecoopter form below. Good luck! 
The giveaway will close on the 26th of April.

Monday, 14 April 2014

Golden Rose -Galaxy 12

Hi,
Today I'll show you an extremely beautiful, sugary textured nail polish. It's Golden Rose -Galaxy 12 and I don't think there is anything else to say about its beauty. I applied two coats of it and no other top coat. I wanted a blue sand effect nail polish for so long and I think I've just found the perfect one! What do you think?  

Puteti achizitiona ojele Golden Rose si online, de pe Cosmania.ro. Urmariti pagina de facebook Golden Rose Romania pentru a fi la curent cu toate noutatile.


Free counters!