Monday 31 December 2012

Essence -Jacob's Protection (Breaking Dawn Collection)

Hi,
Happy New Year! Today I'll show you Jacob's Protection from Essence's Breaking Dawn Collection. (two coats in the picture)

I won this a while ago in a giveaway organised by Shannara from Nails and Stuff. She also sent me 
Alice had a vision, which is another beautiful shade and I'm eager to try it.

After having applied two coats of Jacob's Protection, I took my sponge and applied Avon 
-Arabian glow on the tips. Then, I stamped the stars from m14 Konad plate using Special White.
Finally, I applied the Konad -Special top coat. What do you think about my New Year's eve 
manicure? 

Sunday 30 December 2012

Best of 2012

Hi,
Here are my 2012 favourites. Do you have any others? Which one is your favourite?

February: Green animal print
March: Butterfly nails
August: Splatter nails
December: Winter nail art

Wednesday 26 December 2012

Presents nail art

Hi,
Today I'll show you my last Christmas themed manicure this year. As presents are being offered at this time,  I decided to wrap my nails, too. I started with two coats of Illamasqua -Kink and then, using a gold nail polish, I stamped the design from m65 Konad plate. After that, I took a thin brush and created two red lines on each nail. The nail polishes used were Illamasqua -Alarm and Astor -060 Iconic Red. Finally, I applied the Konad -Special Top Coat. What do you think?


 A halogen light lamp was waiting under my Christmas tree, so I finally made my first highlight box. I followed Chalkboard Nails' very easy tutorial and I managed to to this. Hopefully, the quality of my pictures will improve from now on. 

Tuesday 25 December 2012

Retrospective: Christmas themed manicures

Hi,
First of all, I'd like to wish all of you a Merry Christmas and Happy Holidays near the dear
ones! Right now, I'm wearing my Santa's suit manicure and I'd like to know what you are
wearing for Christmas, too. If you still haven't decided upon a themed nail art, now it's not
too late! I created a collage of my holiday inspired manicures, here. The images will zoom
in if you position the mouse on them. 
You can find more details about each by clicking here

I'd also like to show you my Christmas tree and some of my favourite ornaments. I initially 
decorated it dark purple and gold and then I decided to also add red ornaments. What do 
you think?

Sunday 23 December 2012

Santa's suit nail art

Hi,
Today I'll show a new Christmas manicure I created: Santa's suit. I started with two coats
of Astor -060 Iconic Red and then, I applied a coat of Illamasqua -Scorch in the middle of 
each nail. Using dotting tools and thin brushes, I added the belt and buttons details. I finished
with a clear top coat. What do you think? What manicure are you going to wear for Christmas?


Here's another manicure I did for a friend of mine. Which one do you like the most?

Monday 17 December 2012

Reindeer nail art

Hi,
Today I'll show you my new Christmas themed nail art: reindeer. I'm so excited about this, 
as I've never done something similar and I think the final result was a pretty good one. For 
this design, I only used Illamasqua nail polishes. I started with two coats of Scorch, and 
then, using a thin brush, I applied Taint to create the reindeer's head. Using dotting tools, 
I created the eyes and the nose and then outlined the the design using Scorn. I took my 
thin brush again and created the horns. For the red nose I used Alarm nail varnish. I 
finished with a clear top coat. What do you think?


And now, I want to show you my Christmas themed cake, too. Enjoy!

Sunday 16 December 2012

Fashion inspired manicure (contest entry)

Hi,
Today I'll show you my entry for a nail art contest with the theme fashion.
I started with a base coat and then made two diagonal lines to create the v-gap.
I polished the rest of the nail using Oriflame -Silver lining. While it was still wet, I 
applied some silver sequins from Isis. I added the zip detail in the middle of each 
nail, using a thin brush and a darker gray polish. Finally, I applied a clear top coat.

What do you think? If you like my manicure, please vote for me on Wacky Laki blog.
I'm entry #5 in the contest. Take a look at the other manicures, they're so many and
so beautiful! Thanks.

Saturday 15 December 2012

Christmas lights nail art

Hi,
Today I'll show you my holiday lights manicure.My inspiration for this was 
Pushing Polish. I started with a base coat and then, using a sponge, I applied
white nail polish on the tips of the nails. Then, I created a black curved line
on each nail, using a thin brush. I randomly applied colourful rhinestones and
finished with a clear top coat. What do you think?

Thursday 13 December 2012

Christmas nail art

Hi,
Today I'll show you another Christmas nail art I created. I started with
two coats of Illamasqua -Scorch on all nails except my thumb and ring finger,
where I applied Sinful Colors -Ruby Ruby. The image plates used for each 
finger are, from left to right: m12, m59, m14 Konad plates and an Essence
plate for my pinkie. I used Illamasqua -Allarm for the designs stamped with
red and Konad Special White. I finished with a clear top coat.
What do you think?

Sunday 9 December 2012

Winter nail arts + How to create an outlined design

Hi,
This is going to be an unusually long post, including a lot of pictures. Here, in 
Romania, it has been snowing incredibly beautiful for the past 24 hours. That 
inspired me to create a snowmen nail art. 

I started with two coats of Flormar #431. Then, I applied a layer of a white 
crackling nail polish from Born Pretty in order to create the snow effect.

I used m12 Konad plate for the snowmen. The stamping technique is shown 
in the bellow picture. Firstly, I stamped the design using Special White. Then,
I filled in the design using a white nail polish. Lastly, I restamped the snowmen
design using Special Black, to create an outline effect. This is not as difficult
as it seems, and don't worry if you don't manage to stamp the design exactly
on the line of the previous one. Fill in the comforter with two different colours.
I used orange and green and applied them using a small dotting tool. 

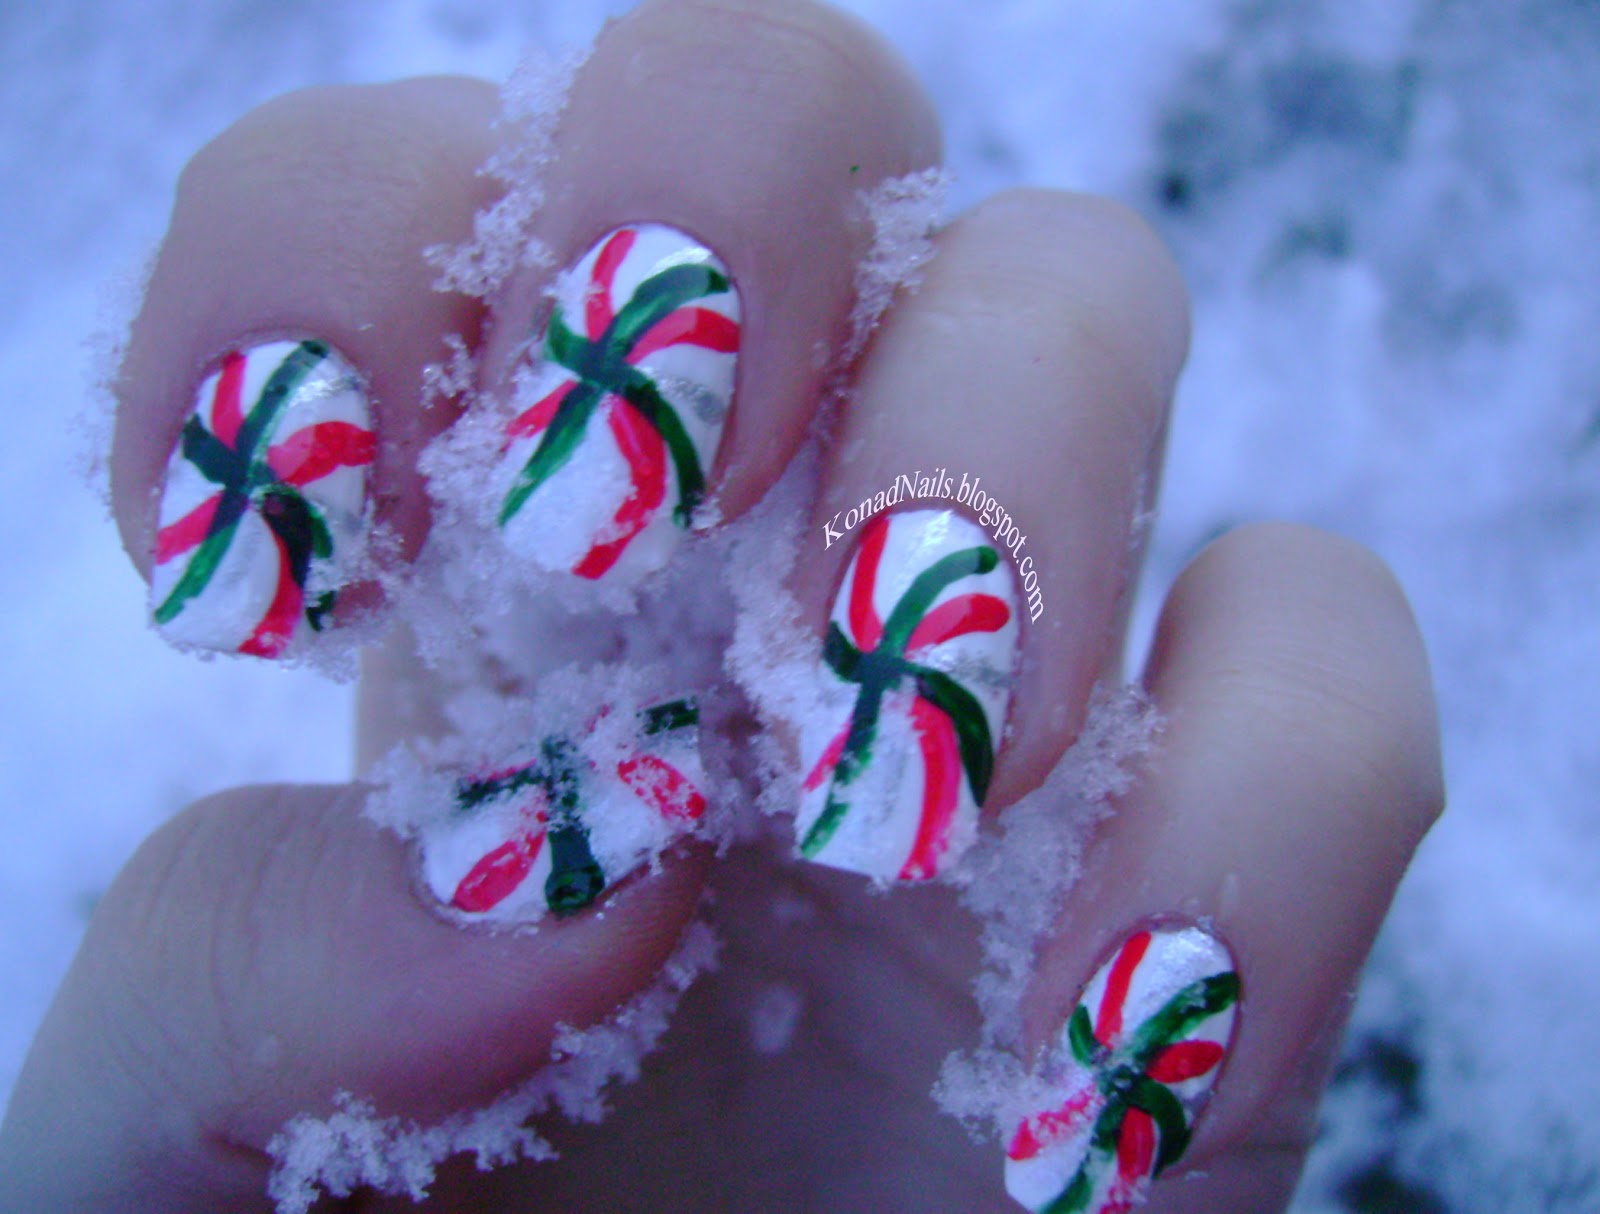
This is the final result. I finished with a clear top coat. What do you think about
my snowmen nail art?

I also wanted to include some pictures of the beautiful scenery I see
from my windows. I really love snow! 

Here's a snowflake design I created for my best friend the day before. You
might have seen it on my Facebook page, as I already posted it. For this, I 
started with a sponged white layer on the tips and then I stamped the snowflakes 
from m59 Konad plate using black, pink and blue. Do you like them?

Friday 7 December 2012

Candy canes -Christmas manicure

Hi,
Today I'll show you another Christmas themed nail art: Candy canes swirls. For this 
manicure, I firstly applied two coats of Illamasqua -Scorch (about  which I wrote a 
review here) and then I started creating the swirls using thin brushes.The nail polishes 
used were Illamasqua -Allarm (red), Oriflame -Silver lining and Sinful Colors -Last 
Chance (green). I finished with a clear top coat and then went outside to take some
 pictures in the snow! The lightning wasn't exactly the best possible, but I hope 
you'll like what you'll see. What do you think about it?

Wednesday 5 December 2012

Holly nail art

Hi,
As holidays seem to be coming soon, I decided to start creating themed nail arts. Today 
it snowed for the first time in my town, so it made it quite obvious that Christmas
time is knocking at our doors. If you are seeking for inspiration, please check my
Christmas collection of manicures I made in the previous years, here

For this manicure I used two coats of Astor -Fashion Studio #114 and then I applied
two coats of Golden Rose #69 glitter. I just bought this one because it has green and 
red particles which remind me of Christmas. As I don't have any holy design to stamp, 
I improvised and used a part of the flower design from Born Pretty -Hello Kitty plate.

I removed two of the petals with a thin brush and acetone after sticking the design
on the stamper. I created the three red dots using a dotting tool. What do you think?
- a close look at the glitter -
Free counters!