Showing posts with label ProNails. Show all posts

Friday, 12 December 2014

Christmas saran wrap nails

Hi,
Today I'll show you a new saran wrap nail art in the colours of Christmas. I started with a coat of ProNails - Extreme white on all nails and then I randomly applied drops of white, red (Rimmel - 506 Central Love Heart) and green (No7 - Totally Teal) nail polish. Then I mixed them using some wrapping foil. Please watch this tutorial for the technique. Finally, I applied clear top coat and a gold stud on my accent nail. What do you think?


Follow me on:

Sunday, 30 November 2014

Pink maniswap with @amina2inspire

Hi,
Today I'll show you a lovely, pink nail art I created for a maniswap on Instagram with @amina2inspire. It wasn't difficult to create and the result was eye-catchy. I only used three nail polishes: Trind - Burst My Bubble (CC202), ProNails -Extreme white and a regular black nail polish. The striping vinyls I used are from Nails Redesigned. The heart stud on my accent nail is from Born Pretty store. I topped everything with a mattifying top coat. What do you think?


Follow me on:

Sunday, 26 October 2014

Pink October

Hi,
Today I'll show you my second Breast Cancer Awareness manicure I did this October.
 I started with two coats of ProNails - Extreme white on all nails and them I created a gradient on my index and pinky fingers using Sinful Colors - Cream Pink. On my middle finger, I stamped the roses from Bundle Monster's BM-323 stamping plate using Sinful Colors - Cream Pink and Rimmel - 318 Stand to attention. The ribbon design on my ring finger was stamped from BM-321 stamping plate. I finished with clear top coat. What do you think?

Follow me on:

Friday, 3 October 2014

Easy-to-do manicures

Hi,
Sorry for being MIA - busy week. Today I'll show you two of my last manicures. They're both really easy and fast to do and also eye-catchy.
For the first one, I started with two coats of  Astor - 237 Orange Cosmos on all nails except from my accent nail, where I applied ProNails - Extreme white. Then, using a dotting tool, I made some dots using the other colour. You can also use bobby pins or needles for this step. Finally, I applied a golden heart stud from Born Pretty store and sealed everything with top coat. 

For the second nail art, I used a different nail polish on each nail.
 I applied two coats of Rimmel -312 Ultra Violet and clear top coat on my pinkie. On my ring finger, I applied two coats of Layla -Metal Chrome and then applied Farmasi Shimmer Nail Enamel #201 as a glitter top coat. On my middle finger, I started with two coats of ProNails - Extreme white and then I stuck some chevron vinyls I got from Nails Redesigned. Using a sponge, I applied pink and purple polish and then unstuck the vinyls. I finished with clear top coat. Finally, I applied Farmec #364 on my index finger and then sealed it with clear top coat. 

Which of the two manis is your favourite?

Follow me on:

Sunday, 21 September 2014

Black and white saran wrap manicure & Tidestore wishlist

Hi,
Today I'll show you my new saran wrap manicure - this time I tried a black & white one. I started with a coat of white nail polish and then I created the saran wrap using ProNails - Extreme white, Sweet Color gray and Glitter Gal - Serpent black. I added some pink and green studs which I got from Born Pretty store. I finished with clear top coat. What do you think?


I'd also like to show you my wishlist for this fall. All the items are from Tidestore, where you can find gorgeous plus size dresses (www.tidestore.com/Plus-Size-Sweater-Dresses). Don't forget to also check their free shipping (www.tidestore.com/Korean-Clothing-Free-Shipping) category!

Follow me on:

Sunday, 14 September 2014

Summer doesn't want to leave

Hi,
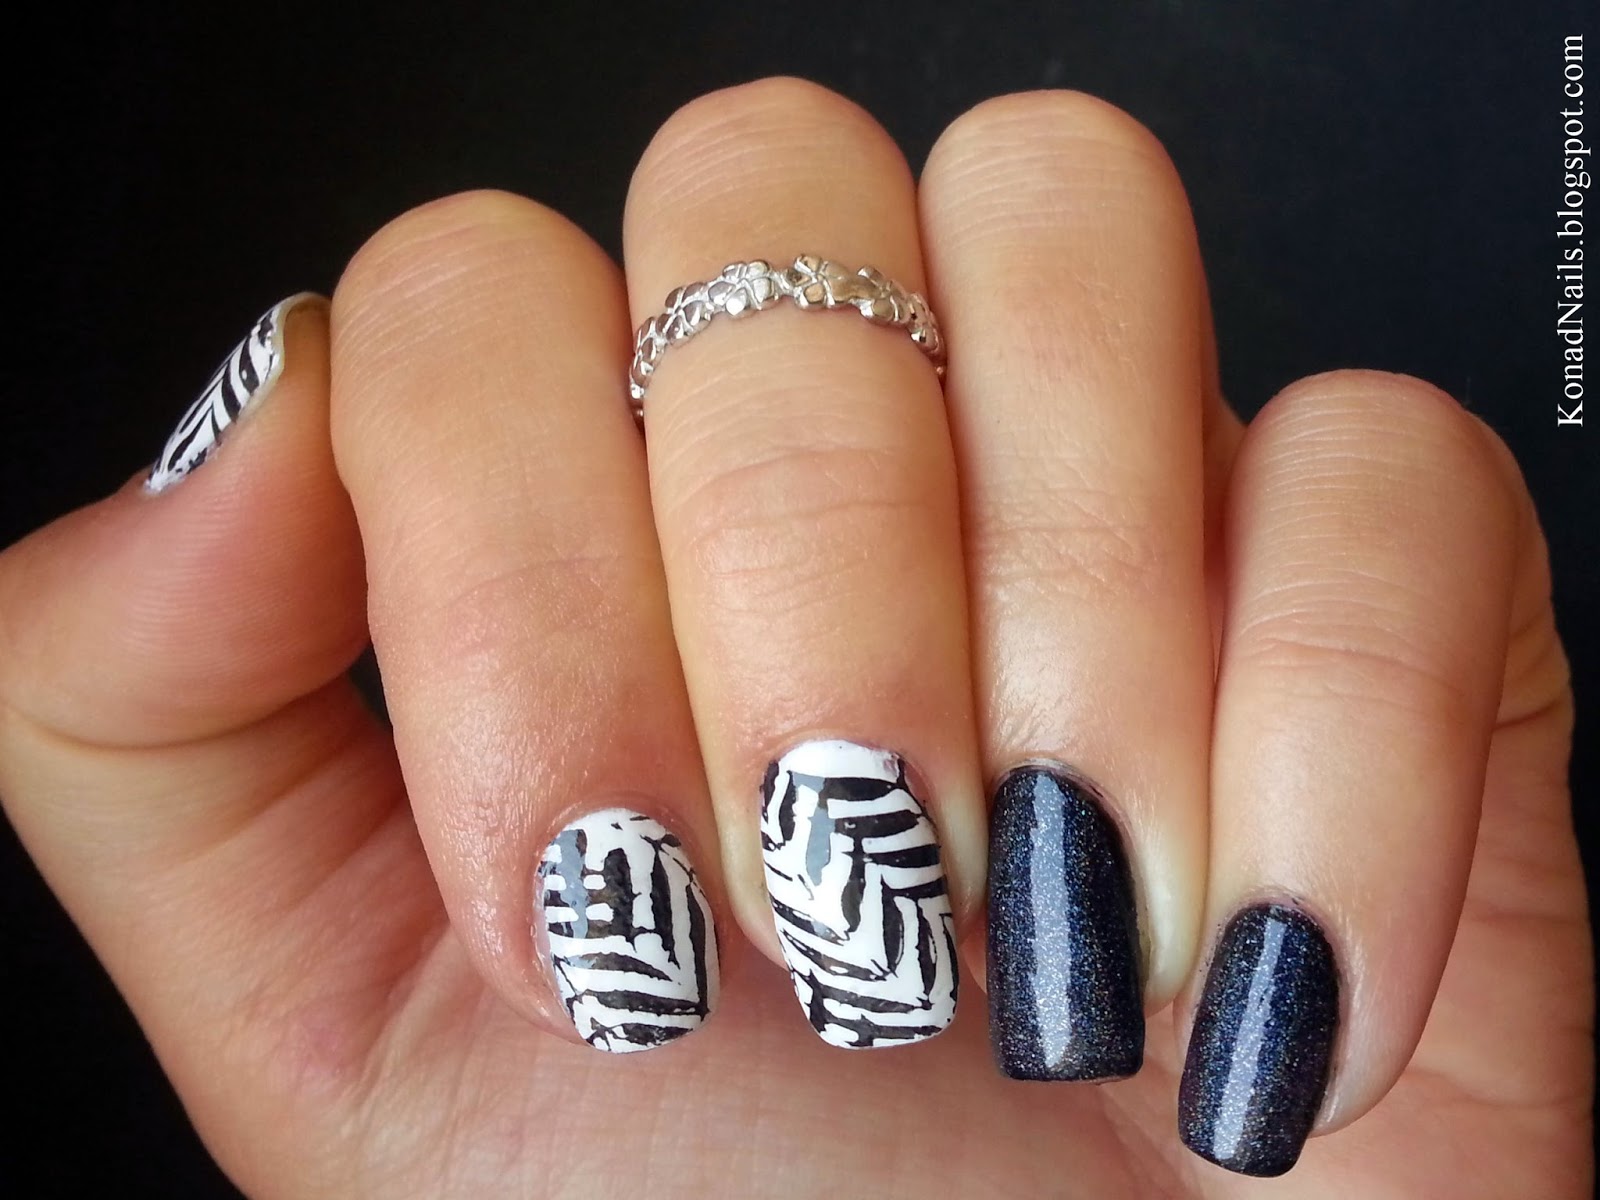
Today I'll show you an extremely easy nail art. I started with two coats of ProNails - Extreme white on my thumbs, index and middle fingers and then I stamped the leaves design from  MoYou London's Tropical 12 stamping plate. On the rest of the nails, I applied two coats of Glitter Gal - Serpent Black and then I applied a holographic top coat above: ILNP - My Private Rainbow (L+S). What do you think?

Follow me on:

Sunday, 7 September 2014

Last summer days

Hi,
Unbelievably, summer's already over and only now did I manage to do a watermelon nail art. I started with two coats of ProNails - Extreme white and then I created the gradient using Golden Rose - Rich Color 08 and Golden Rose - Rich Color 18. Then I painted the kernels using a thin brush and black nail polish. I did this on all nails, except from my ring finger where I applied  Golden Rose - Rich Color 18 and then stamped the peel design from MoYou London's
Tropical 08 image plate. I finished with clear top coat on all nails. 

Sunday, 24 August 2014

Sea foam nail art

Hi,
Today I'll show you my new sea foam manicure. I firstly created the saran wrap base using ProNails - Extreme White, Rimmel - Out of the blue and Rimmel - Sky high. Then I applied clear top coat.

Next, I applied the a gold nail polish (Golden Rose Holiday #82) to create the sand effect. I also applied some gold shells I got from Born Pretty store. I finally applied clear top coat and that's it. What do you think?

Follow me on:

Friday, 8 August 2014

Marine nail art

Hi,
Today I'll show you another navy nail art. For this manicure, I used three polishes: Tip Top -Astronaut, ProNails -Extreme white and Rimmel -506 Central Love Heart. I used stripe vinyls and anchors from Nails Redesigned. On my thumb and index finger, I stamped the boat design and the helm from MoYou Nails' image plate 70. What do you think?

Follow me on:

Sunday, 13 July 2014

Homemade decals | Floral anchor nail art

Hi,
Today I'll show you my new floral anchor nail art. 
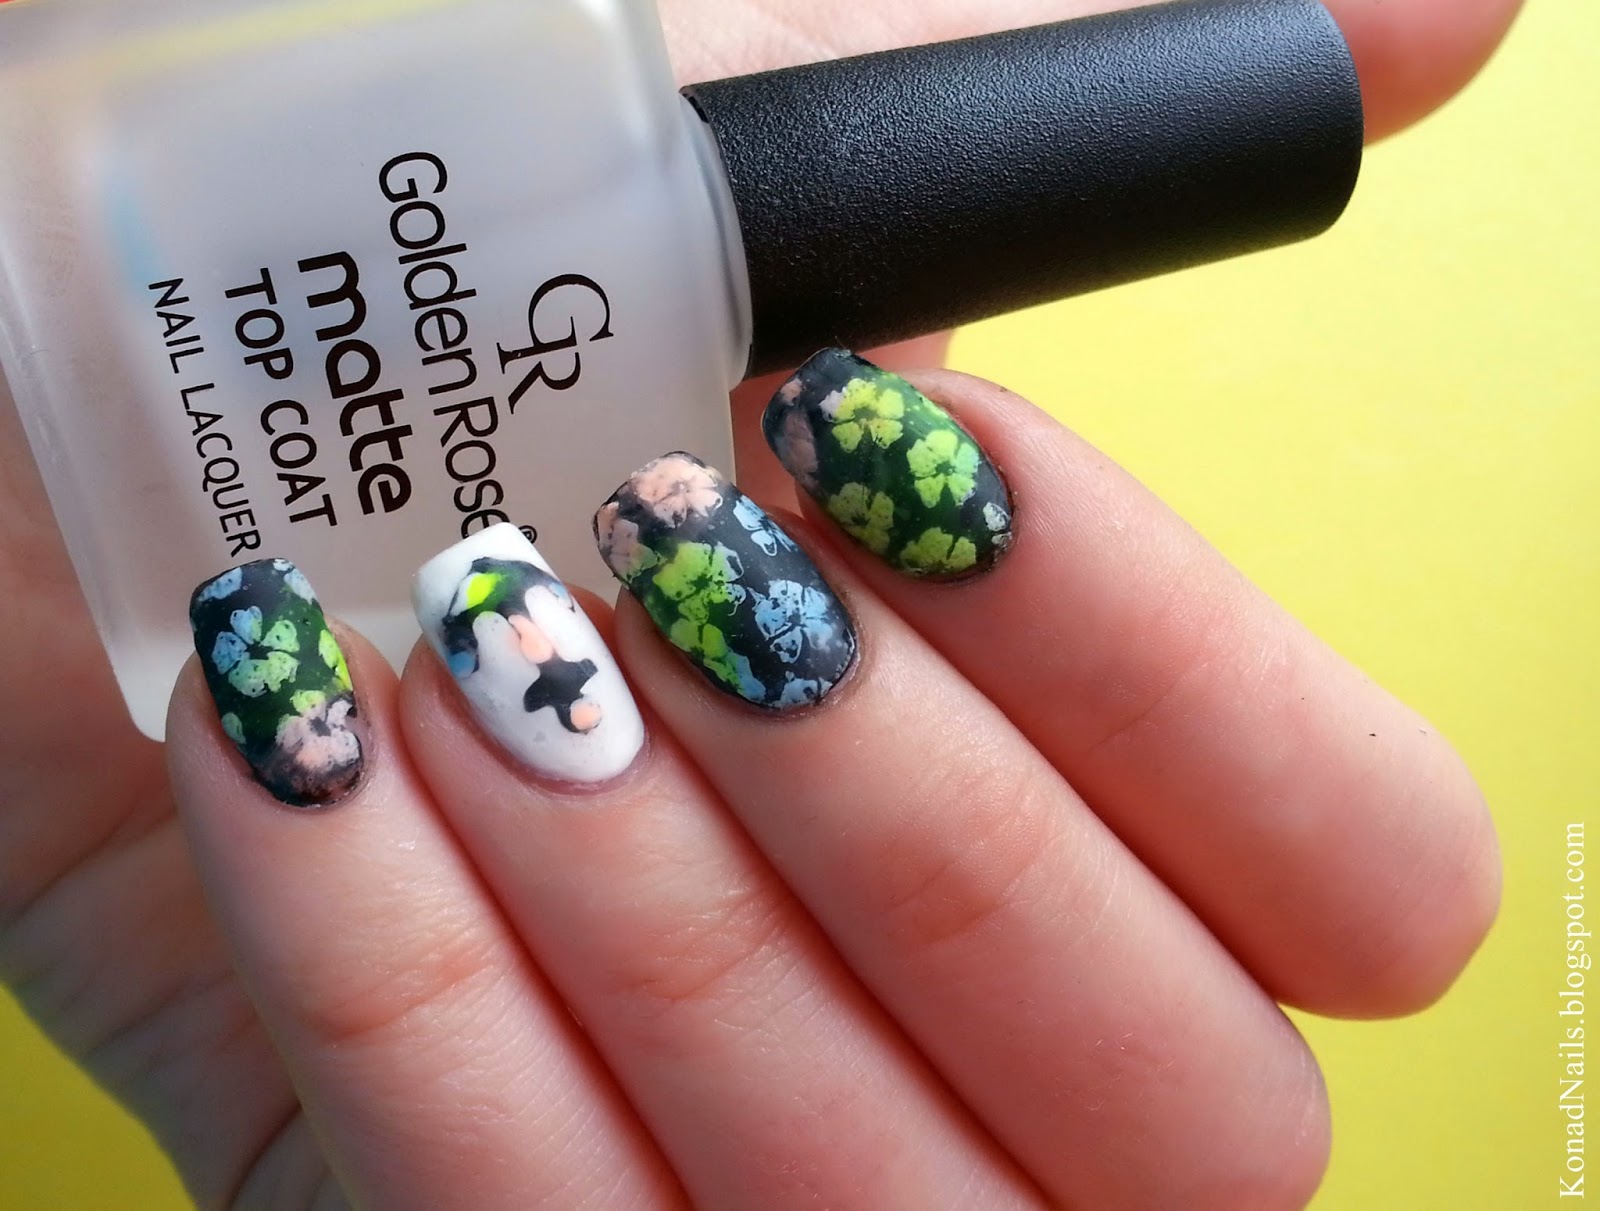
I started with two coats of Glitter Gal -Serpent Black on all nail except from my ring finger, where I applies ProNails -Extreme White. Then I appplied some homemade water decals and finished with Golden Rose -Matte top coat. Find below my easy tutorials on creating homemade decals.

Anchor decal (you can also watch the pictorial I posted on Instagram here)
→ Take a plastic wrap or plastic bag and put it on a hard surface. 
→Stick the anchor stencil (or any stencil) on it. My anchor stencils are from Nails Redesigned.
→Apply a coat of black nail polish so as to cover the hole. 
→Remove the stencil while the nail polish is still wet and then let it dry. 
→Apply clear top coat and let it dry. This will help you unstick the decal from the plastic wrap. 
**The next step is optional. 
If you don't want to create any more designs on your decal you're done. 
→Take your white nail polish and a thin nail art brush and create the wanted design. 
Colour it using sheer tints. 
→Unstick the decal using tweezers and apply it onto the nail. Seal with clear top coat.

I used the same technique for creating the full nail flowery decals. I stamped the design from MoYou London's Tourist 17 stamping plate.

Follow me on:

Monday, 7 July 2014

Saran wrap nails

Hi,
Today I'll show you a manicure I created for a maniswap on Instagram with @whispersofthewind. I recreated her chevron manicure on a saran wrap base.
Watch this tutorial for details on how to do a saran wrap nail art. I know there are a lot of techniques you can use for this type of manicure, but I find this one the easiest. I used only three polishes to do it: China Glaze -Sun of a Peach, China Glaze -Too Yacht To Handle and Rimmel -312 Ultra Violet. I finished with clear top coat.

After my base completely dried, I applied extra wide chevrons and topped with white nail polish (the white nail polish I'm currently using is ProNails - Extreme White). After removing the vinyls, I again applied clear top coat. 

I got my chevrons online, from Nails Redesigned. Below you can see my entire order. I really like all the vinyls because they are not too sticky, which makes them easy to handle and remove. Their prices are accessible and international shipping is available. I received my order really fast - about 10 days - considering I am on the other side of the world. 

Follow me on:

Tuesday, 1 July 2014

Trind Keratin Treatment + navy nail art

Hi,
Today's post will include a short review of the Trind's Keratin Treatment for weak nails, as well as my most recent navy manicure which you might have already seen on Instagram

Buna, 
Postarea de astazi va include un scurt review despre tratamentul cu keratina de la Trind pentru unghiile slabite, dar si cea mai recenta manichiura marinareasca, pe care s-ar putea sa o fi vazut deja pe pagina mea de Instagram


The kit I have contains two products meant to strengthen and repair the structure of deteriorated nails: a protecting balm which is absorbed fast by the nails and a protecting nail lacquer which can be applied after the balm.This treatment couldn't come to me in a most appropriate moment! My nails have started to weaken and I saw the results after the first use. The directions of use recommends applying the protecting balm more times a day. I have to admit that I couldn't prevent myself from painting my nails for too long. I held up for a day and I applied it about 10 times. In the pictures below, you can see how my nail looked before and after applying a coat of protecting balm, two coats of protecting balm, respectively a coat of protecting lacquer.

Kitul pe care l-am achizitionat contine doua produse menite sa intareasca si sa repare structura unghiei deteriorate: un balsam protector, cu o structura ce se absoarbe rapid, si un lac protector ce se aplica dupa. Acest tratament nu ar fi putut ajunge in mainile mele intr-un moment mai potrivit. Unghiile mele au inceput sa slabeasca si am simtit diferenta inca de la prima utilizare. Pe prospect se recomanda aplicarea balsamului protector chiar si de multe ori pe zi. Trebuie sa recunosc ca eu nu m-am putut abtine foarte mult timp sa nu-mi pictez unghiile. Am rezistat o zi, de-a lungul careia am aplicat balsamul aproximativ de 10 ori. In fotografiile de mai jos puteti vedea cum arata unghia inainte, dupa un strat de balsam, apoi dupa doua straturi de balsam si in final dupa un strat de lac protector, ce poate fi folosit ca o baza pentru oja. Rezultatele sunt evident vizibile dupa primul strat de balsam. 
Kitul de ratament cu keratina il puteti gasi aici, la un pret special.

Because I liked this treatment a lot, I also ordered a coloured nail polish from Trind. I chose Burst My Bubble (CC202) from their summer collection.

Pentru ca mi-a placut mult acest tratament, am comandat si o oja colorata. Am ales nuanta Burst My Bubble (CC202) din colectia de vara.
Am achizitionat produsele Trind de pe Rouge-Boutique.ro.


For the manicure above, I used straight vinyls on two of my nails, and an anchor decal on my ring finger. I got them both from Stickmenails, an online store selling plenty of beautiful stickers for nail art. If you're not sure how to use the vinyls, here's a tutorial showing you the technique. See below all that I got from their website. By the way, my order arrived extremely fast from the other side of the Earth - about 11 days.

Pentru manichiura de mai sus, am folosit stickere drepte si in forma de ancora. Le-am achizitionat de pe Stickmenails, un magazin online ce vinde foarte multe stickere frumoase pentru nail art. Daca nu sunteti sigure cum sa le folositi, urmariti acest tutorial. Mai jos puteti vedea intreaga mea comanda de pe site-ul lor, care trebuie sa va spun ca a ajuns extrem de repede din cealalta parte a globului - aproximativ 11 zile.

I used ProNails - Extreme White as a white base for my manicure. On my index finger, I applied Catrice -It blue my mind using a sponge. Trind.

Am folosit ProNails - Extreme White ca baza alba pentru manichiura mea. Pe aratator, am aplicat Catrice -It blue my mind, folosind un burete. Lacul de unghii ProNails il puteti gasi online, pe  Produsecosmetice.ro.

Monday, 30 June 2014

Prima mea comanda pe ProduseCosmetice.ro

Buna,
De curand am plasat prima comanda pe site-ul ProduseCosmetice.ro si astazi va voi impartasi experienta placuta a cumparaturilor. Exista o varietate larga de produse pe site-ul lor, de la produse de make-up la produse pentru ingrijirea parului si bine inteles pentru ingrijirea unghiilor. M-am limitat doar la produsele pentru unghii si sunt foarte incatnata de toate produsele achizitionate. 

1. Nicole by OPI - Up & Kim-ing Pink
2. Flormar Pretty #20
3. Tratament pentru Cuticule Sally Hansen
4. Maybelline MNY #461
5. ProNails - Extreme White
Din partea lor, am primit cadou o mostra de crema de maini Pronails.


Cea mai incantata am fost de doua produse, si anume:
 ♥ Tratamentul pentru cuticule de la Sally Hansen, un produs greu accesibil, lucru datorat faptului ca produsele Sally Hansen sunt distribuite de foarte putine firme in Romania. Pretul de 26 de lei mi s-a parut foarte accesibil luand in considerare gramajul mare si calitatea produsului. Este o crema cu particule fine de peeling, despre care o sa va vorbesc intr-o postare urmatoare.

 ♥ Lacul de unghii ProNails, un alt produs care poate fi gasit in foarte putine magazine in Romania. Ceea ce cautam coincide perfect cu ceea ce am gasit: un lac de unghii alb opac dupa primul strat, cu uscare rapida si rezistenta indelungata. Pana acum foloseam oja alba Flormar - M01 ca si baza pentru aproape toate manichiurile mele pentru ca ea mi s-a parut cea mai buna dintre toate cate incercasem pana atunci. Albul de la ProNails i-a luat fara indoiala locul, acesta fiind mult mai usor de aplicat. Pretul este putin mai mare, insa cu siguranta ca merita investitia.

Se anunta multe manichiuri colorate, asa ca stati pe aproape daca vreti sa aflati parerile mele si despre celelalte produse. Pe care ati vrea sa-l vedeti primul pe unghiile mele?
Free counters!